Hello World!
I've been wanting to build a site to share my experiences in life - be it tech, food, or travel - for quite a while. I'm not quite sure what exactly prompted me to start building one, but I did so about a month ago. Paid for a domain and started going at it right away.
I figured documenting how I did this could probably be helpful to someone or myself in the future. Quick shout-outs to Josh Comeau's beautiful website - where he has detailed his steps on blog building and my friend Shreyash who helped me a ton along the way.
Go, Daddy!
Step 1 of doing anything web - buying a domain for it. You build it or not, you gotta buy one. This was something new to me - I knew how I could set up a free-tier hosting service (like Heroku) but I wasn't aware of all the intricacies of linking a hosting site to a domain.
So I went along with GoDaddy - might not be the best bang for the buck, but there are tons of videos/articles on the internet detailing the steps to link it with a hosting provider.
The pricing was 299Rs (year1) + 999Rs (year2) + tax. They upsell you quite a bit, just ignore those. Especially the "free" website builder. This was for a .com site. .in, .co.in are a lot more cheaper.
Once you make the payment, you'll have to wait for a while for them to allocate it to you. Meanwhile, I started setting up the project itself - a nextjs app.
The Tech Stack
Here's all the tech that I happened to use; I'll explain each later on -
NextJs as the React Framework. This does SO MANY THINGS. The developer experience is amazing; Just create-next-app, add a few lines and you're set. You now have an amazingly responsive Statically Generated Site.
Heroku as the hosting provider. I did not know about Vercel/Netlify at the point I set this up. They could be better, I will explore them in the future.
For now, Heroku does everything I want - 1 click to link up to my project git
repo see: github repo,
(almost) 0-configure auto-deploy whenever I commit to main branch with good
build logs, and a reasonably low cost as well. I'm currently paying for the
Hobby tier which costs me $7 per month.
Update March 3, 2022: Friendship ended with Heroku, Vercel is my new best friend. You borderline do not require a brain to use Vercel. Just connect your git account, point at the right repository and you're done. And it's FREE!
Tailwind for my styling. I'm still not used to looking at all the ugly essays of class names, but I'll tell you this - the developer experience is Amazing. Without Tailwind I wouldn't have been able to do reasonable and responsive styling this quick. I would highly recommend you try this in your next endeavor.
MDX for blog posts. I wasn't happy enough with simple markdown posts - so I looked for this. You can have React components in your Markdown with this.
I don't have a database at the moment. There is a 'backend' of sorts that is provided by NextJs. With the /api route I can write Node code to do secret backendy things - like fetching those Instagram images you see on the front page.
A place for your code in the cloud
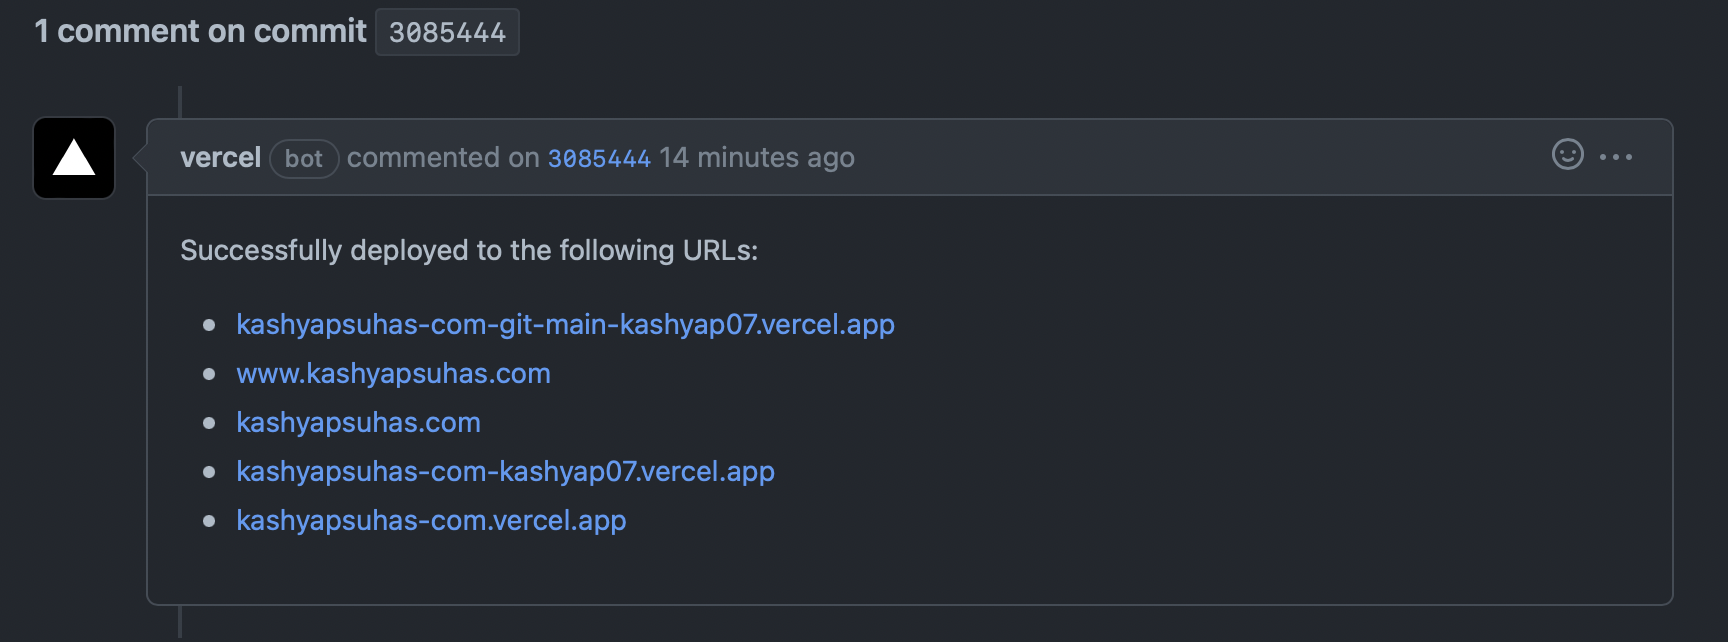
Well, the cloud is a lie; it's just someone else's box. In this case, it's Vercel's box. And boy is it a FAST box. Vercel, who happens to be behind NextJs, has loads of settings up and ready for a NextJs deployment. Connect your GitHub account, select repository, add your domain (that you bought from a domain provider) aaand that's really it. Vercel auto-deploys for you every time you commit; even adds this nice little comment to your commit. It even creates an SSL certificate and does the http to https redirection for you!
I had used Heroku previously, but Indian Gov's RBI rules made it impossible for me to pay them for the monthly 7USD charge. My account is now suspended and permanently deleted, I still owe them $21 :(
To conclude, Vercel is fast and free, requires almost 0 config work, and is very user-friendly.
The Next level (hah) of doing React
I can't quite remember where I read this quote, think of NextJS as React but with batteries included. You get to play around with your toy and have all the fun in the world without worrying about buying batteries or the capacity of those. NextJS has essentially replaced creaate-react-app at this point.
Start with npx create-next-app, use typescript if required. NextJs does routing in a beautiful manner - just folders and files. Makes complete sense when you think of it. NextJs uses an array notation for wildcards. For example, to have a page named /blog/post/how-i-built-this-site-a-guide, I create a "blog" folder, a "post" folder, and a wildcard [slug] file for the blog itself.
What also happens to come as standard is Server-side-rendering. There are 3 ways to go about this.
- SSG (Static Site Generation) The best way to make sites. Perfect SEO. No calls to server when user requests for pages. NextJs pre-renders the HTML and fetches all the data one needs during build time.
- SSR (Server Side Rendering) SSG works great for static sites, but the moment you need dynamic data, you need to speak to the server. With SSR, your pages will be fetched on-demad, but you will still have SEO benefits.
- ISG (Incremental Static Generation) ISG is the best of both worlds. It works like SSG, but there is also an option to "revalidate" the cache - it fetches fresh data if there's any change to be found. This way, you can have very performant static sites, but also have updated content on the fly.
The way NextJs does things is that, the initial is statically generated, but any links in the page will have be generated on the client. It also happens to pre-fetch data in the form of json - works based on the intersection observer api - so when a user clicks on a link, there is no network call to the server at all! Kinda feels like magic but that's just how it is in NextJs' world.
Also ships with next/image - great tool for automagcally optimizing images.
MDX - Markdown, but ✨ fancy ✨
Markdown is the best way to write blogs - think everyone agrees with that. It's literally built for this purpose. Makes having consistent stying super easy, allows modifications to styling in the future simple as well. The only limiting factor is the kind of elements you can include in it. That's where MDX comes in. It's a React component that allows you to use React components in your markdown.
See components/OverrRideDefaultHTML.tsx for an example.
Ok, at this point I just got super bored.
Just see source code for this blog. It's licensed under MIT. Enjoy.